Using the Connector
In this part you will learn how to use the connector.
Add a Route
You can add routes to your connector by storing the corresponding .xml files in /deploy. They will be automatically loaded. Some examples of routes can be found in /examples. Routes are defined with Apache camel. With from you can receive data, to allows you to send data and with log you can add a log entry. Here is a simple example of a route which stores messages received via idscp2 in a file.
<camelContext xmlns="http://camel.apache.org/schema/spring">
  <route id="idscp2Server">
    <from uri="idscp2server://0.0.0.0:29292?sslContextParameters=#serverSslContext"/>
    <log message="Server received: ${body} (Header: ${headers[idscp2-header]})"/>
    <to file="directoy"/>
  </route>
</camelContext>
To send the message to another connector you can use:
<to uri="idscp2client://connector-name:29292?awaitResponse=true&sslContextParameters=#clientSslContext"/>
To send the message via http use:
<to uri="http://host:port?parameters" />
You can address connector instances by their name if they are in the same docker network or by their IP-Address.
Add a Policy
You can add policies to your connector via the GUI or by storing the .pl file in /deploy. More about policies here.
Connector GUI
To control and manage your connector, you can use the GUI available at port 8080.
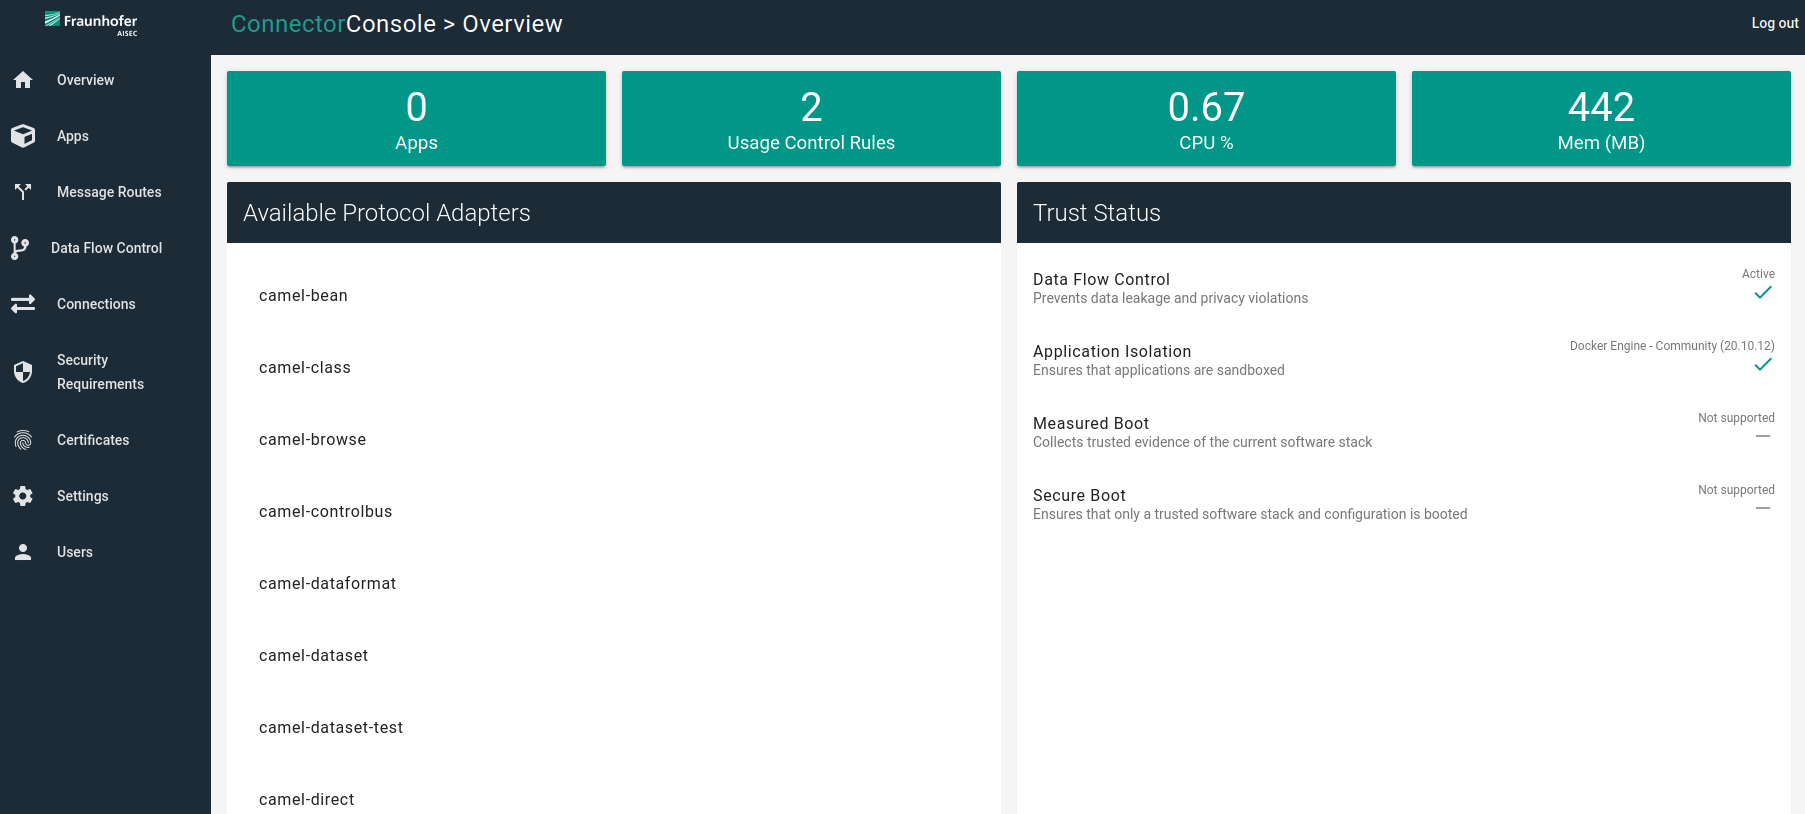
- Overview: Provides you an overview about your connectors’ status.
- Apps: Lists the running apps and allows you to stop, delete and add apps.
- Message Routes: Provides a diagramed view of the loaded routes.
- Data Flow Control: Shows the loaded policies and their status. You can also add policies here.
- Connections: Lists the active connections.
- Certificates: Lists your own identity and the trusted certificates. Furthermore, you can add identities and certificates here.
- Settings: Here you can adjust your connector settings, e.g. location of the truststore, DAPS URL, etc.
- Users: Allows you to add users and lists loaded accounts (Note: ids:ids no longer works if you added an user here).
Connector examples
In the /examples directory, you will find some examples which may help you to get started and understand how to connector may be used. You can start the examples on your local machine by using the corresponding docker-compose files.
Getting started example
Starts a connector which sends a timestamp over idscp2 to itself.
IDSCP2 example
The clients sends a message (“ping”) to the server, to which the server responds to (“pong”).
Usage Control example
Shows an example of contract agreement between client and server.